Dual Vertical Stands for Three-Screen Laptop Setups
By Priya Raman • 11th Mar
A dual laptop vertical stand paired with a central display doesn't just reclaim desk space, it solves the ergonomic puzzle of triple display workstation management by lifting screens to true eye level and eliminating the reach strain that plagues multi-screen workers. Most people assume more monitors equal better productivity, but they skip the measurement step that separates calm, pain-free workflows from weeks of shoulder ache.
The Three-Screen Trap: Why Most Multi-Display Setups Fail
The Problem: Screens Everywhere, Comfort Nowhere
You've added a second laptop and an external monitor. Your desk looks professional. Your neck disagrees.
The issue isn't the screens, it's that you're managing three competing heights without any of them aligned to your body's geometry. A closed laptop on your desk sits roughly 5-7 inches above the work surface. An external monitor on a standard riser adds another 24-30 inches. A second laptop, if it's flat, adds clutter and forces you to crane sideways. Result: your eyes hunt across three different focal planes, your neck rotates under asymmetrical load, and your wrists extend awkwardly reaching between zones.
You bought the stand hoping it would just "work." You didn't measure your setup against the most basic anthropometric fact: eye height drives everything else. Use our eye-level height calculator to dial in exact screen positioning before buying another stand.
The Agitation: Why Off-The-Shelf Fixes Miss the Mark
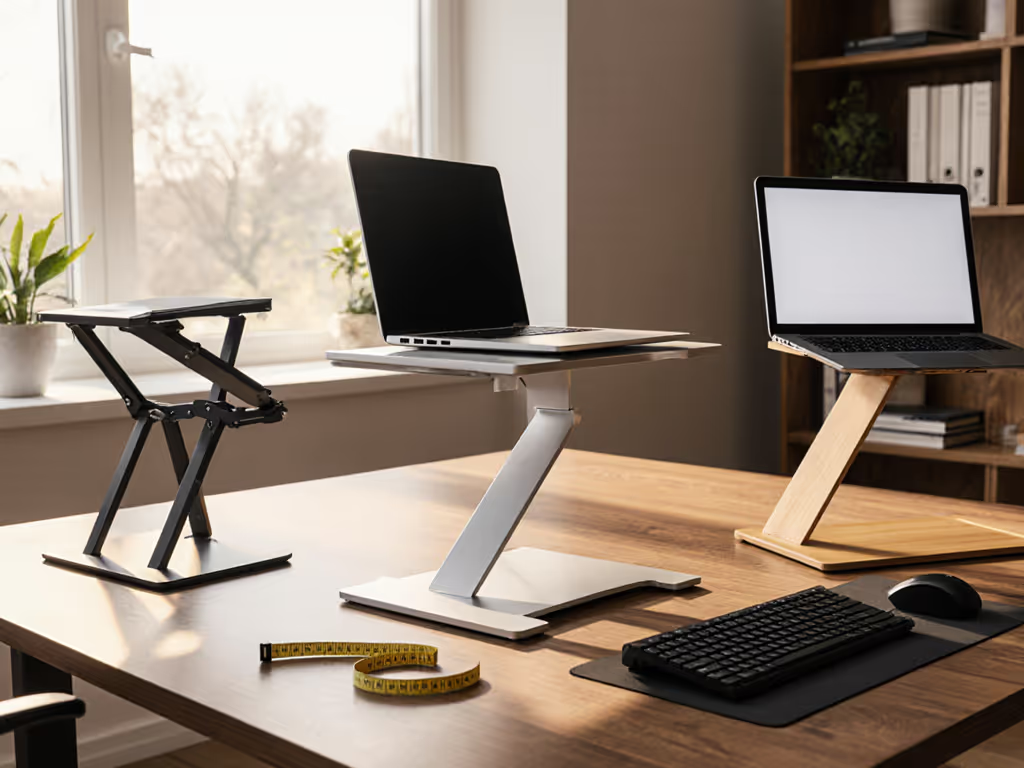
Then comes the realization. That vertical stand you grabbed? Its base is 11.8 inches wide, but your desk depth is only 20 inches. Place the stand on your work surface, and it overhangs the edge (tilting under the weight of two laptops). Or the slot width is fixed at 0.75 inches, and your newer MacBook at 0.43 inches thick wobbles inside it like a pea in a drum.
Or worse: the stand lifts your laptops to 10 inches above the desk, but your seated eye height is 22 inches. The math says your screens are 8-10 inches below true eye level, exactly the angle that hammers your upper trapezius after six hours of video calls.
You didn't know you needed to cross-check three measurements against the stand's specs. Nobody tells you that base geometry matters more than wobble-resistance claims, or that laptop thickness determines compatibility before you unbox anything.
Analysis paralysis sets in. You've read five reviews. None of them mention your desk depth or your specific height percentile. You return the stand after two weeks and try the next one, out $30 and out of time.
The Solution: A Measurement-First Approach to Central Display Ergonomics
Step One: Your Three Core Measurements
Measure once, type twice: chase your true comfort window. This isn't poetry, it's the fastest path to a setup that actually fits.
Gather a ruler, a chair you use daily, and ten minutes.
1. Eye Height (Seated)
Sit in your work chair. Have someone measure from the floor to your eye line (the horizontal plane through your pupils). For most knowledge workers aged 25-50, this falls between 19-26 inches. If you're at the 5th percentile (around 5'1") or 95th percentile (6'2"+), this spread matters enormously. Write it down.
2. Desk Depth
Measure from the front edge of your desk to the back wall or monitor arm bracket. Typical home-office desks are 20-30 inches deep. This number determines whether a wide stand will overhang and tip. For safe stability, your stand's base width should be at least 2 inches narrower than your desk depth (that gap allows monitor clearance and prevents tipping on edge).
3. Laptop Thickness
Measure your laptop's thinnest profile (usually closed and resting on a flat surface). Modern MacBooks range from 0.43 to 0.68 inches; many Windows ultrabooks are 0.5-0.75 inches. If you own two devices, measure both. Your stand's slot width range must include both thicknesses. A fixed slot is a trap.
Step Two: Map Your Multi-Screen Alignment
Once you have those three numbers, here's how central display ergonomics actually works:
Position One: Primary External Monitor
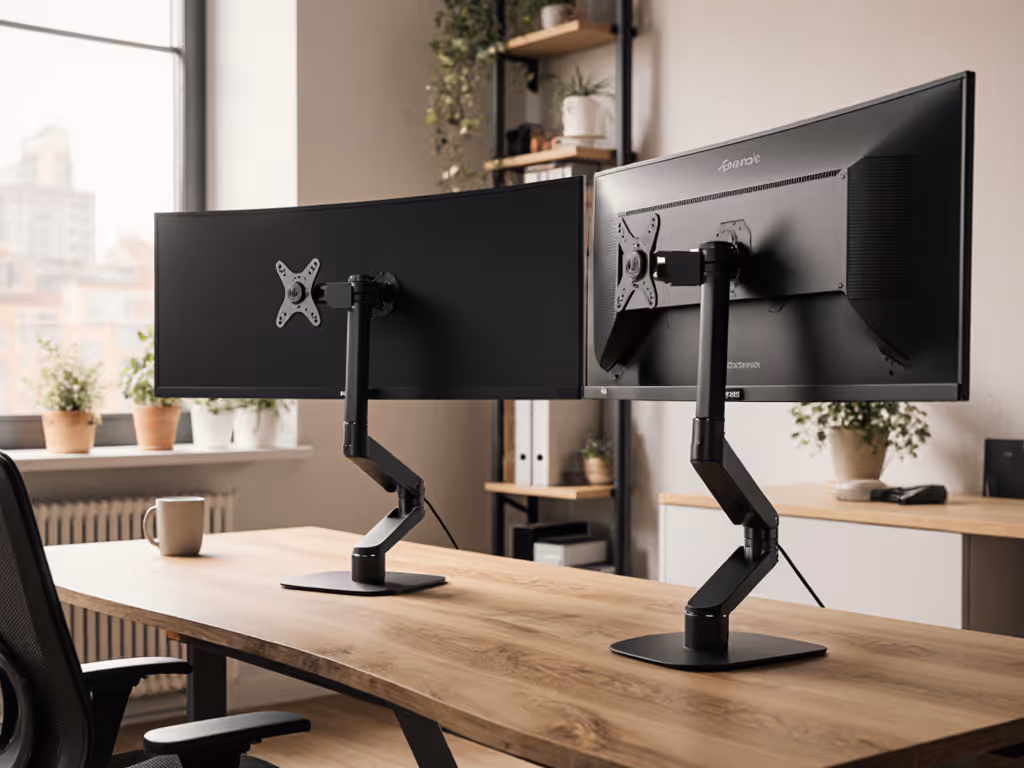
Your main monitor (27-34 inches) sits on your desk or a monitor arm at true eye level, the top of the screen roughly 2-3 inches above your eye height. This is your reference point. It should be 20-26 inches from your eyes when you're sitting upright. For two-monitor variations of this setup, see how stands integrate in our dual-monitor workspace comparison.
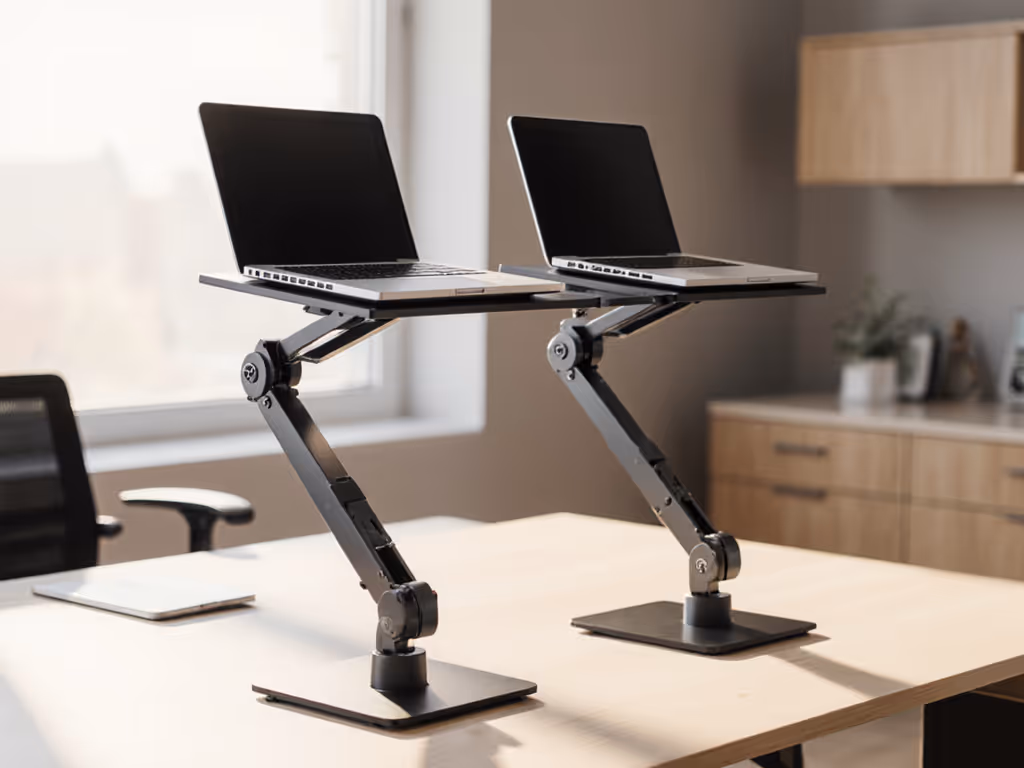
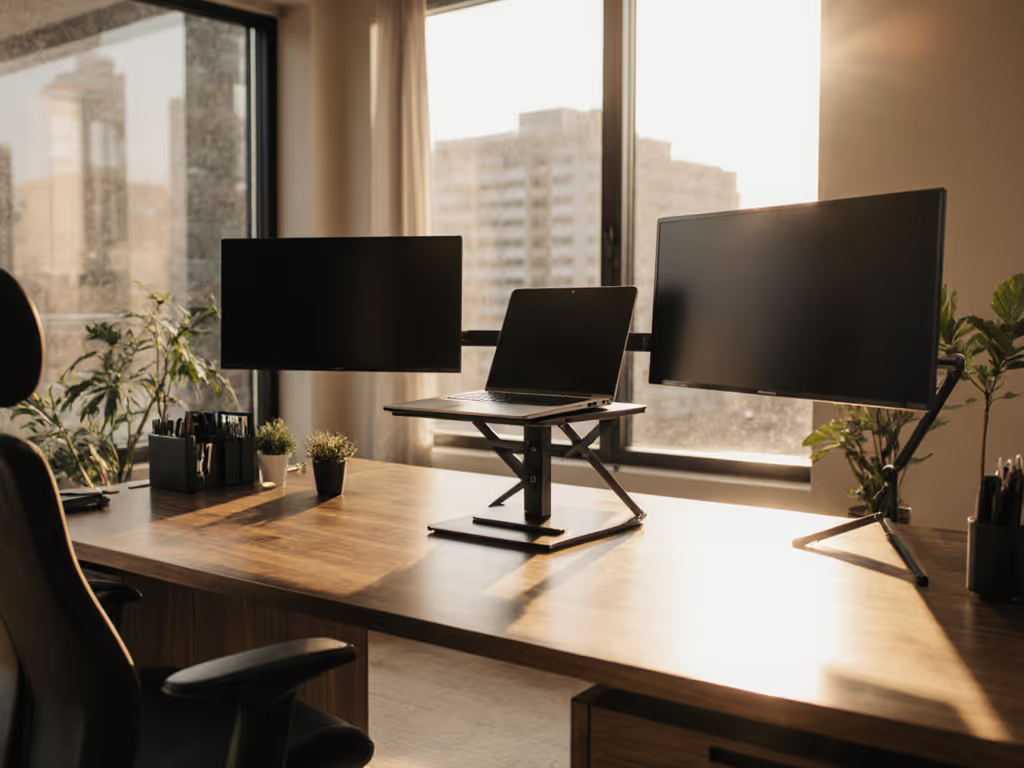
Position Two: Dual Vertical Laptop Stand (Behind Primary)
This is the insight most multi-screen users miss: place the dual vertical stand behind your main monitor. The vertical orientation lifts both laptops to a secondary reference height. When you toggle between them (say, reviewing email on the second machine while coding on the first), the screen height is already at or near eye level, no awkward downward gaze.
For this placement to work, your stand's total lift (from desk to top of the laptop screen) must be at least 2-3 inches taller than your eye height. Why? The laptop screen sits above the device's physical top edge. A 13-inch MacBook's screen occupies roughly 10-11 inches of height, so if your eye height is 22 inches, the stand should lift the laptop's bottom edge to at least 11-12 inches (putting the screen's center around 16-17 inches and the top near 21-22 inches, right in the sweet zone).
Position Three: Secondary Keyboard and Input Devices
Your external keyboard should sit on the desk surface, 10-12 inches in front of your eyes (standard typing distance). Your wrists stay neutral, not extended upward or bent downward. The vertical stand's base depth (often 7-8 inches) leaves room for a keyboard or secondary tablet in front of it, keeping the zone organized.
Step Three: Check Cooling and Stability Under Load
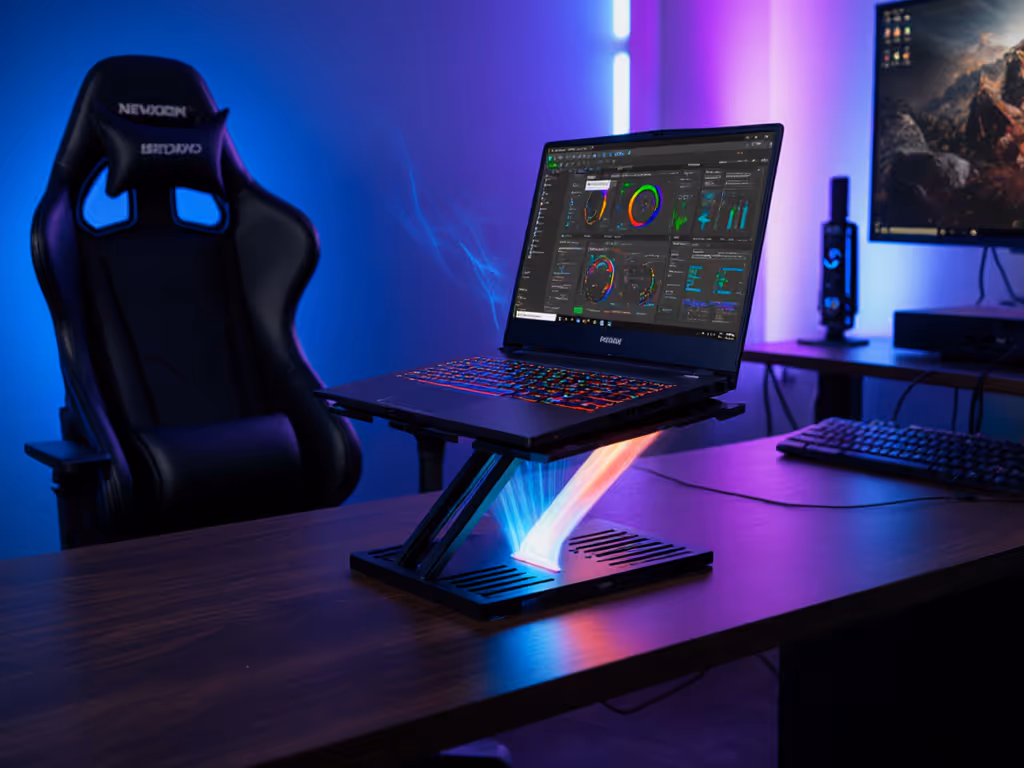
Multi-screen setups = higher CPU/GPU load. If you're running a video call, code editor, and design software simultaneously, your laptops work harder. Horizontal stands trap heat; vertical slots promote airflow. When laptops stand upright, air circulates freely around their chassis. The effect is measurable: thermal testing shows vertical storage reduces palm-rest heat transfer by up to 30% compared to flat placement. If overheating is part of your triple-screen pain, see the thermodynamics of laptop cooling to understand airflow, throttling, and battery wear.
Verify two things:
-
Slot Adjustability: The stand's slot width must adjust via screws or levers. Fixed slots are your enemy if devices vary in thickness. OMOTON's dual stand, for instance, adjusts from 0.43 to 1.38 inches via bottom screws, covering nearly every mainstream laptop.
-
Anti-Wobble Under Typing Load: A wide, low center of gravity beats tall, narrow geometry. Your base width should be at least 80% of your desk depth (for 24-inch desks, that's roughly 19 inches; for 30-inch desks, 24 inches). Look for stands with wide acrylic or aluminum legs and silicone pads that grip even glass or smooth surfaces.

Step Four: Three-Screen Workflow Optimization - Where Each Device Lives
Now that your stand and monitors are positioned by the numbers, define each screen's job:
Primary (External Monitor): Main work, code, design, writing, spreadsheets. Eye level, 20-26 inches away. High-resolution (1440p or 4K preferred).
Secondary Laptop 1 (Vertical Stand, First Slot): Chat, email, documentation, reference material. Secondary glance, at or near eye level thanks to the stand's lift. Can be lower spec (good for a work-issued MacBook Air or older ultrabook).
Secondary Laptop 2 (Vertical Stand, Second Slot): Media consumption during breaks, monitoring dashboards, or a personal device kept separate from work. Third in visual hierarchy, but still elevated by the stand.
This arrangement cuts neck rotation in half compared to setups where laptops lie flat on either side of a monitor. If you're still deciding between vertical and angled orientations, compare them in our vertical vs angled stands.
Choosing Your Dual Vertical Stand: The Specification Checklist
Now, measure your three numbers against these stand features:
| Feature | Why It Matters | Your Action |
|---|---|---|
| Slot Width Range | Prevents wobble and forced insertion, laptop must fit snugly | List both laptop thicknesses; stand's range must include both |
| Base Width x Depth | Avoids tipping on shallow desks and wall-edge overhang | Base width <= your desk depth - 2"; depth >= 7" |
| Total Height Lift | Achieves eye-level viewing when placed behind your monitor | Stand height + 10" (avg laptop screen height) >= your eye height + 2" |
| Material (Acrylic vs. Aluminum vs. Wood) | Thermal conductivity, durability, aesthetics | Acrylic/aluminum > plastic for heat dissipation; wood adds premium look but requires regular care |
| Adjustment Type | Slot width must adapt to device variance | Bottom screws (OMOTON model) or lever clips preferred; avoid fixed slots |
| Footprint Stability | Wide, low center of gravity resists wobble under typing load | Look for bases >= 11" wide and silicone pads on all contact points |
Real-World Examples
OMOTON Dual Vertical Laptop Stand: Base is 11.8" W x 7.1" D. Slot width adjusts from 0.43-1.38 inches via bottom screws. Non-slip silicone pads grip glass and laminate equally. For a 24-inch desk, this base fits without overhang (24 - 11.8 = 12.2 inches of clearance on both sides). Weight capacity supports most 13-15-inch laptops. Acrylic construction dissipates heat well.
Upergo Vertical Laptop Stand: Crafted from black walnut wood and aluminum, with dual-slot adjustability. Width adjusts to fit MacBook Pro, MacBook Air, and iPads. Anti-scratch felt pads on walnut; silicone on aluminum. Best for users who prioritize aesthetics and desk harmony; less ideal for extreme height percentiles (6'2"+) because its max lift is fixed and lower than heavier metal stands.
Satechi Dual Vertical Laptop Stand: Aluminum construction, dual-slot design with non-slip pads and protective grip. Improves airflow to reduce thermal throttling and support longer battery life. Sturdy modern aesthetic; fits most 13-17" devices. Popular in minimalist home offices.
The Setup Sequence: Installation and Validation
Once you've chosen your stand, follow this checklist:
- Place the stand behind your primary monitor (if using three screens). Adjust the monitor arm or desk riser so its center is at your eye level.
- Set slot width first, before inserting laptops. Loosen adjustment screws on both slots and set them to your two device thicknesses (measure again to be sure). Tighten screws firmly, this is your stability insurance.
- Dock the laptops. Insert each device slowly and confirm it seats fully without wobbling or binding. If there's any bounce, re-tighten the slot screws.
- Position your external keyboard on the desk in front, 10-12 inches from your seat. Wrists should rest neutral, not extended.
- Validate eye alignment. Sit in your work posture and look straight ahead. Your eyes should land in the upper-middle third of your primary monitor. Glance down slightly to your secondary laptops (no craning). If you need to look down 15+ degrees, the stand isn't tall enough for your height; consider a monitor arm or desk riser to gain lift.
- Test under load. Open your typical workload (code editor, browser with 10 tabs, video call software). Let the laptops run for 15 minutes. Feel the chassis, any heat radiating to your palms? If yes, ensure ventilation gaps around the stand are open and consider repositioning it to catch airflow from a window or fan.
- Measure cable routing. A tidy cable path prevents visual chaos and reduces stress on ports. Use desk cable management best practices (clip cables to the back of the monitor arm or run them under desk trays). Follow our laptop stand cable management tutorial for step-by-step routing that keeps three devices tidy and safe.

Trade-Offs: Comfort Range vs. Cooling vs. Packability
No single stand excels at everything. Here's the honest spectrum:
High Comfort Range (Wide Height Adjustability)
Ideal for: Tall users (6'1"+), standing-desk owners, frequent desk-height changers.
Trade-off: Heavier stands (5-8 lbs), less portable, higher cost ($25-$60).
Pick: OMOTON or Satechi if you need height flexibility.
High Cooling (Open Architecture, Acrylic/Aluminum)
Ideal for: Creators, engineers, gamers with heavy CPU/GPU loads.
Trade-off: Minimal aesthetic control; airy design may show cables.
Pick: OMOTON (acrylic) or Satechi (aluminum) for thermal confidence.
High Packability (Compact, Lightweight)
Ideal for: Digital nomads, hybrid workers, coffee-shop regulars.
Trade-off: Lower stability on shallow desks; may not fit very thick devices; limited height range.
Pick: Single-slot stands (Lamicall or Nulaxy) if you're traveling; skip dual stands for travel.
Aesthetic Priority (Wood, Minimalist Profile)
Ideal for: Shared office spaces, professional on-camera presence, premium desk harmony.
Trade-off: Wood requires regular dusting; may need padding for very thin MacBook Air models.
Pick: Upergo Vertical Stand if aesthetics and sustainability matter as much as cooling.
Avoiding Analysis Paralysis: Your Next Step
You now have three measurements. You've mapped where each screen belongs. You've checked the stand specs against those measurements.
Do not wait for the "perfect" stand. Stands in the $15-$60 range (OMOTON, Satechi, Upergo) all perform well when chosen for your geometry. The difference between a good choice and a mediocre one isn't the brand, it's the fit.
Action: Pick one stand that matches your three measurements and your comfort-range priorities. Order it this week. Set it up using the validation sequence above. Use it for 5 working days (a full work-week cycle of meetings, coding, and breaks). If your neck and shoulders feel better by day 5, keep it. If not, you've learned something about your setup that the next stand will fix.
You've already measured. You already know your fit window. Trust it. Your setup will thank you.
Related Articles