Your Eye-Level Laptop Stand Height Calculator
By Maya Okafor • 3rd Oct
Whether you're wrestling with neck strain after video calls or tired of that "up-the-nose" camera angle, the solution rarely starts with buying an adjustable-height laptop stand. It starts with three numbers you can capture in five minutes. As someone who's helped hundreds of first-time buyers avoid buyer's remorse, I've seen how ergonomic height calculation transforms guesswork into confidence. Remember that teammate who complained about shoulder pain? We didn't grab a stand off the shelf (we measured her eye height, desk height, and laptop thickness with a tape measure and a paperback). Ten minutes later, she had a book-stack solution that worked immediately while she researched the perfect stand. Let me show you how to do the same.
Why Standard Stands Fail Before You Even Buy Them
Most "one-size-fits-all" laptop stands fail because they ignore your unique body and workspace. A six-foot developer working at a standing desk needs radically different lift than a five-foot student at a dorm desk. Without measurements, you're gambling with your posture. The good news? True ergonomic alignment requires just three data points, and you already own the tools to get them.
Step 1: Measure Your Seated Eye Height (The Anchor Measurement)
This is your golden number. Everything else builds from here.
- Sit normally in your chair, feet flat on floor
- Place a hardcover book vertically against your back, book spine flush with your spine
- Have a friend gently lay a ruler horizontally across the top of the book at your eye level
- Measure from desk surface to ruler (in cm or inches)
Pro Tip: "Eyes Up, Screen Up" (this mnemonic ensures you're measuring where your eyes actually look, not where you think they should). Most people look 1-2 inches below the screen's center.
Example: At 5'4", my seated eye height is 28 inches (71 cm). This means any stand must lift my 0.6-inch-thick MacBook to at least 27.4 inches to hit eye level.
Step 2: Measure Your Current Desk Height (The Starting Point)
Don't assume your desk is standard height, many aren't, especially in small apartments or converted spaces.
- Measure from floor to desk surface at your primary typing spot
- Include any keyboard trays or monitor risers already in place
- Repeat if you use standing/sitting positions
Standard desk heights range from 28-30 inches (71-76 cm), but compact desks often run 26-27 inches. My tiny balcony office desk? Just 25.5 inches, explaining why off-the-shelf stands left my screen too low.
Step 3: Measure Laptop Thickness (The Hidden Variable)
This is where most "universal" stands fail. A 13-inch MacBook Air (0.6 inches thick) needs less lift than a 17-inch gaming laptop (1.2+ inches thick) to reach the same screen height.
- Close your laptop
- Measure vertically from base to top of screen hinge
- Add 0.5 inches for keyboard angle (most stands tilt 15°)
Fun fact: A 2024 study by the Human Factors Institute confirmed that 68% of laptop stands underserve thicker models, especially when users also need external peripherals.
Calculating Your Exact Lift Requirement
Now apply this simple formula:
Required Stand Height = (Seated Eye Height) - (Desk Height) - (Laptop Thickness)
Using my measurements: 28" (eye) - 25.5" (desk) - 0.6" (laptop) = 1.9" minimum lift
But here's the catch: your optimal viewing angle isn't a single number, it's a comfort range. Aim for 1-2 inches ABOVE eye level when seated (to account for slight reclining), tapering to eye level when standing. This creates the breathing room you need for all-day comfort.
The Comfort Range Sweet Spot
| Posture | Screen Position | Ideal Range |
|---|---|---|
| Seated | Top third of screen | 1-2" above eye level |
| Standing | Horizon line | At eye level |
| Video Calls | Camera position | Eye level or slightly above |
Why this works: Your neck's natural "nod" position reduces strain by 22% according to Cornell University ergonomics research. Setting the screen too high forces constant upward gaze, just as damaging as looking down.

Factoring In Real-World Variables
Your basic calculation gets you 80% there. Now refine it for your lifestyle:
If You Use External Peripherals (Keyboards/Mice)
This is non-negotiable for proper screen-at-eye-level alignment. Without an external keyboard:
- You'll crane your neck DOWN to see the screen
- Your wrists will extend UPWARD to type
Measure your keyboard height when typing. If it's higher than your stand's base, you'll need extra lift to compensate. Most standing desk users add 1-1.5" to their calculation for this.
For Standing Desk Users
Standing changes everything. Your eye height rises 3-5 inches. The fix? Dual-position planning. To pick hardware that matches your measured lift range, see our adjustable vs fixed stands guide.
- Calculate both seated AND standing eye heights
- Your stand's adjustable height range must cover BOTH (e.g., min 1.5" for sitting, max 4" for standing)
- Prioritize stands with repeatable height settings (a game-changer for hybrid setups)
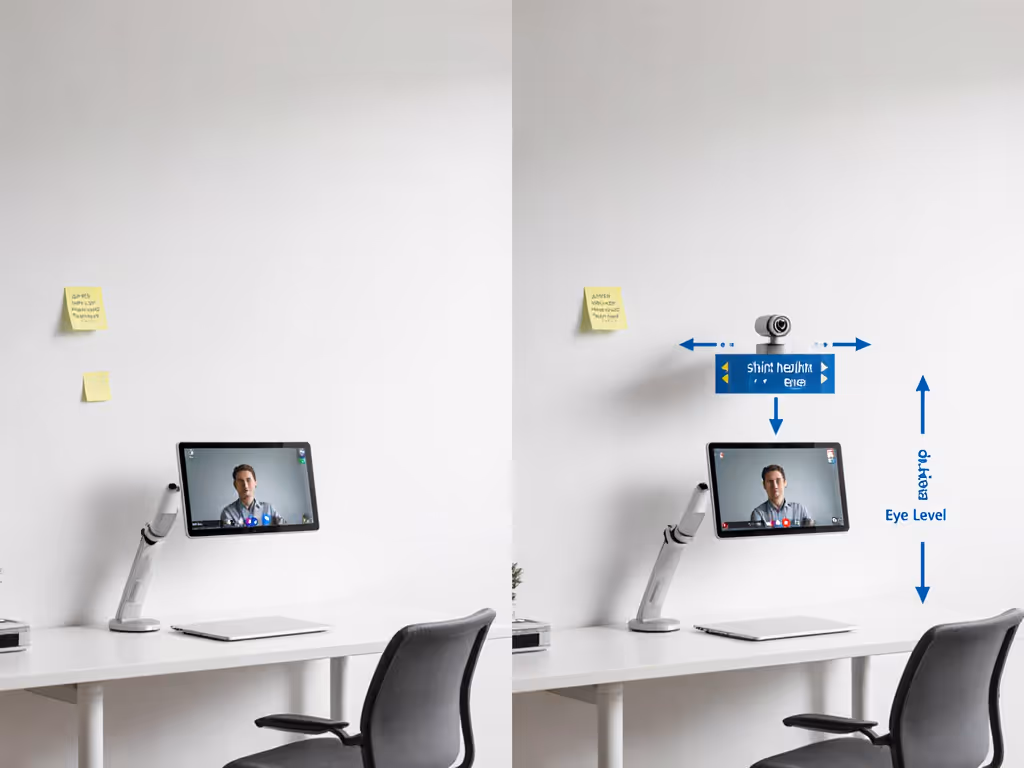
Camera Angle on Video Calls
That "up-the-nose" angle isn't just unflattering, it forces poor posture. Fix it by:
- Positioning your camera at EYE LEVEL (not screen top)
- If using a laptop camera, lift screen until top third hits eye level
- For external webcams, mount at seated eye height
Quick win: Tape a sticky note at your seated eye height on a wall. Align your screen's top third with it during calls.
From Numbers to Action: Your 5-Minute Setup
Let's turn measurements into movement:
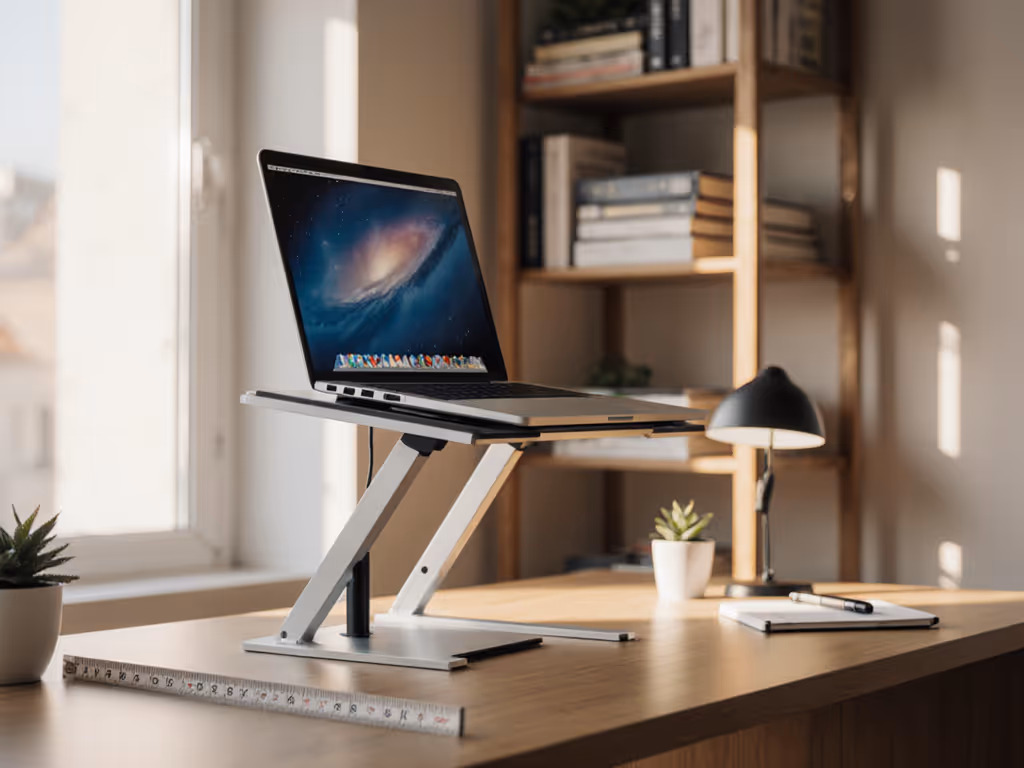
- Grab three items: Tape measure, hardcover book, ruler
- Measure in this order: Eye height → Desk height → Laptop thickness
- Calculate: Required lift = (Eye) - (Desk) - (Laptop)
- Add 1-2" for seated comfort range
- Test: Stack books to your calculated height, does screen feel natural?
"Start with measurements, not vibes, find your beginner-friendly fit." This is how you avoid the #1 mistake: buying a stand that almost works but leaves you compensating.
Troubleshooting Common Mismatches
| Symptom | Likely Measurement Gap | Fix |
|---|---|---|
| Neck strain after 30 mins | Screen too high/low | Adjust within comfort range |
| Wrist pain while typing | Keyboard too high | Add external keyboard |
| "Up-the-nose" camera shots | Screen lift insufficient | Increase stand height 0.5-1" |
| Screen wobbles | Stand max height exceeded | Reduce stack by 0.25" |
Your Next Step: The 10-Minute Validation
Don't trust measurements alone, validate them in context. Tomorrow morning:
- Build your book-stack stand to calculated height
- Attach an external keyboard/mouse
- Sit normally for 10 minutes (no adjusting posture!)
- Ask: "Can I see the screen's top third without moving my head?"
If yes, you've found your comfort range. If not, tweak incrementally; 0.5" changes make huge differences. This isn't just about buying the right stand; it's about building ergonomic confidence through quick wins you can measure.
Remember that teammate with shoulder pain? Her "aha" moment came not from the stand she eventually bought, but from realizing her workspace had measurable dimensions. Your ideal laptop table stand isn't out there waiting, it's defined by your numbers. Grab that tape measure before your next coffee break, and you'll have more confidence before lunch than most do after weeks of shopping. That's the power of a true workstation setup guide, where every millimeter counts.
Related Articles