Laptop Stand Evolution: Best Ergonomic Designs Through Time
By Maya Okafor • 15th Jan
Confidence starts with numbers you can collect in five minutes, and that's the mantra that guides my work helping first-time buyers navigate the world of ergonomic stands. When I see someone struggling with neck pain after weeks of remote work, I don't recommend the best laptop stand right away. Instead, we grab a tape measure and a book to calculate their personal fit window. This humble approach reflects the true ergonomic evolution that's reshaped how we work, moving from one-size-fits-all solutions to personalized setups grounded in actual measurements.
The Early Days: Simple Solutions for Basic Problems
In the mid-1990s, when laptops were becoming mainstream office tools, the first stands emerged as little more than flat platforms. These early designs addressed the most obvious problem: screens sitting too low, forcing users into that dreaded 'turtle neck' posture. With limited adjustment options, they provided a basic elevation (often just 2-3 inches), helping users avoid craning their necks downward. Think of these as the 'training wheels' of ergonomic design: simple, functional, but with a narrow comfort range that left many users still uncomfortable.
When Keynamics patented what they claim was the first dedicated laptop stand around 2003, the ergonomic community was skeptical. As one industry insider noted, 'What is this and why would I need one?' was the typical response. At that time, many ergonomists simply advised against using laptops altogether due to poor posture risks. But early adopters discovered something important: even modest elevation created meaningful relief for people spending hours at their devices.
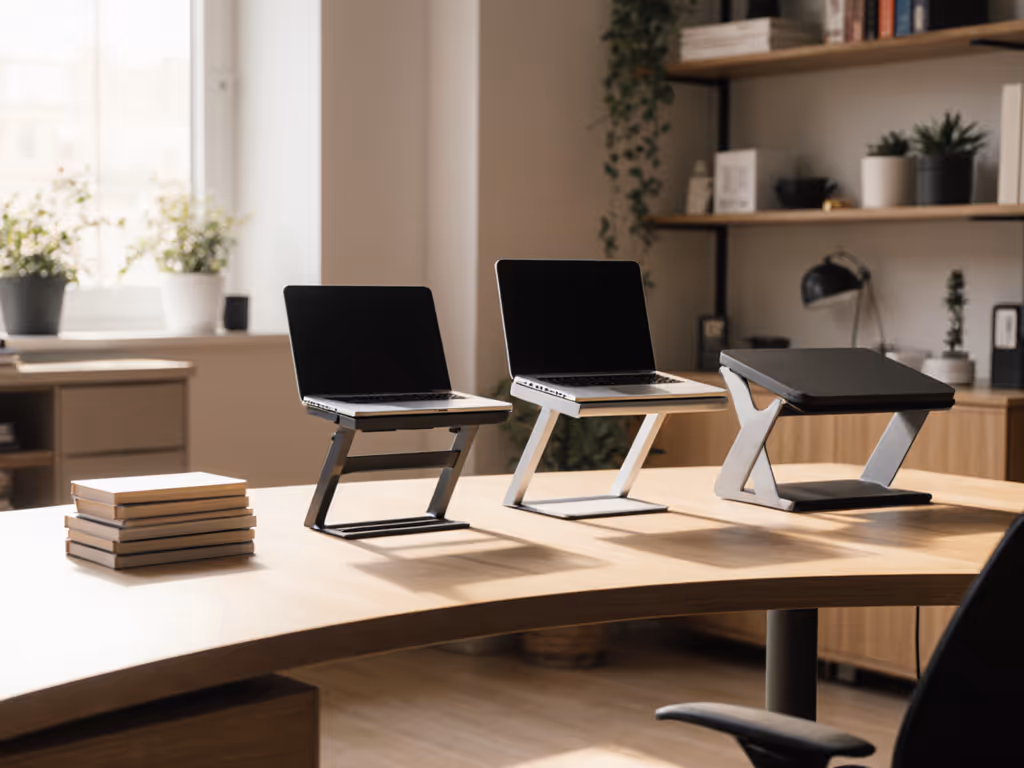
The Adjustment Era: Finding Your Personal Range
As laptop usage exploded during the rise of remote work, stand designs evolved to accommodate diverse body types and workspaces. The first major innovation wave introduced height and tilt adjustments, transforming stands from static platforms into customizable tools. Not sure whether to go adjustable or fixed-height? Read our adjustable vs fixed stands comparison. This shift recognized a fundamental truth I emphasize with every client: your perfect setup depends on three simple measurements: your eye height, desk height, and laptop thickness.
During this period, stands began offering:
- Multiple height settings (typically 3-6 inches of vertical adjustment)
- Basic tilt mechanisms for better viewing angles
- Lighter materials for portability
But limitations remained. Many stands had narrow adjustment ranges that couldn't accommodate both petite and taller users. Small desks created clearance issues. And most importantly, people still approached their search with vague desires like 'something ergonomic' rather than specific measurements that would guarantee a proper fit. I've seen countless people return stands after realizing they couldn't achieve eye-level positioning, wasting time and money that could have been avoided with five minutes of measurement.
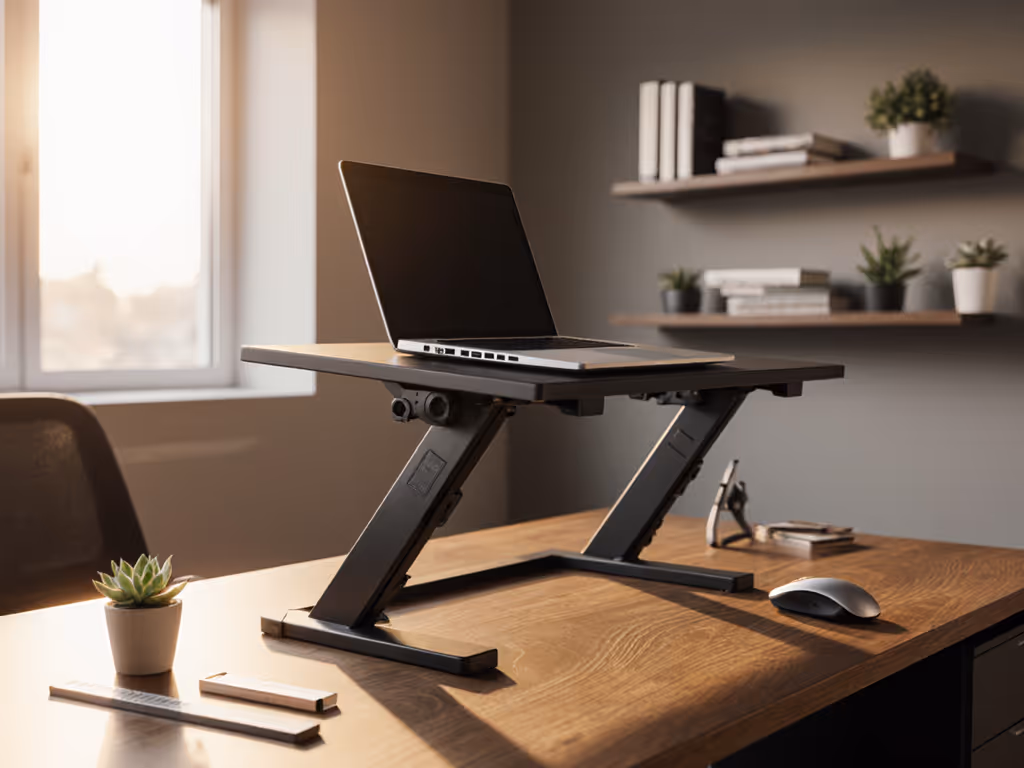
The Modern Era: Intelligent Integration and Precision Fit
Today's workspace innovation timeline has reached a sophisticated stage where the best laptop stands address multiple ergonomic challenges simultaneously. Modern designs consider not just screen height but also:
- Cooling efficiency for performance laptops
- Stability for vigorous typing
- Camera positioning for video calls
- Compatibility with shallow desks and standing workstations
Using a standing desk? See our standing desk laptop stand guide for zero-wobble height transitions. The most advanced stands now feature what I call a 'complete comfort quadrant' (four critical dimensions that must work together):
- Vertical lift range (how high the screen can elevate)
- Tilt adjustability (screen angle for optimal viewing)
- Stability rating (resistance to typing vibrations)
- Cooling performance (airflow for thermal management)
What's truly remarkable about this ergonomic technology progression is how it's returned to fundamentals. The most successful modern stands aren't necessarily the most complex; instead, they're the ones that make measurement-based setup intuitive. Consider stands with clearly marked height indicators or those that include simple measurement guides. These acknowledge that the path to comfort begins not with features, but with understanding your personal requirements.
Your Measurement Roadmap: Finding What Fits You
Forget 'best laptop stand' lists that don't account for your specific measurements. Instead, follow this simple roadmap I teach all my clients (something you can complete during a coffee break):
Step 1: The Eye Height Check Sit normally at your desk. Have someone measure from the desk surface to your eye level (about 22-28" for most adults). This is your target screen height. You can plug this number into our eye-level height calculator for precise settings.
Step 2: Laptop Profile Assessment Measure your closed laptop thickness (typically 0.5-1") plus your desired keyboard height (about 1-2"). Subtract this from your eye height to determine needed lift.
Step 3: Desk Depth Verification Measure from the front edge of your desk to the wall or obstruction behind (most stands need 12-15" clearance).
This creates your personal 'fit window' (the exact specifications your stand must meet). For example, a 5'2" user with a 24" desk might need 6-8" of lift, while a 6'4" standing desk user might require 12-14". This precision explains why generic 'one-size' stands so often fail.
When you're ready to buy a laptop stand, look for products that clearly specify their comfort range in inches rather than vague terms like 'adjustable'. Check if they provide measurement guides or fit calculators; these brands understand that true ergonomics begins with numbers, not marketing buzzwords.
The Evolution Continues: Your Next Step
The story of office accessory evolution isn't just about clever engineering; it's about recognizing that real comfort comes from understanding individual needs. As someone who's helped dozens of new remote workers avoid painful trial-and-error, I can tell you the most successful transitions happen when people start with measurements, not vibes.
Start with measurements, not vibes, and find your beginner-friendly fit.
Your next step is simple but powerful: grab that tape measure right now and capture your three magic numbers. In five minutes, you'll have more certainty than most people get after hours of browsing reviews. With these measurements in hand, you'll instantly recognize which stands truly fit your body and workspace, transforming what seems like a complicated purchase into a confident decision. To integrate keyboards, mice, and monitor arms, follow our complete ergonomic workstation guide.
Remember that teammate I mentioned at the beginning? Ten minutes after measuring, she had a book propped under her laptop creating perfect alignment. That immediate win gave her the confidence to eventually invest in a stand that precisely matched her measurements. Today, she works comfortably all day without shoulder pain, and she never would have gotten there by chasing the 'best' without knowing what 'best' meant for her.
Your fit window awaits. Measure once, work comfortably forever.
Related Articles