How Laptop Stand Height Reduces Lower Back Pain
By Maya Okafor • 4th Apr
You might think lower back pain at your desk comes from your chair (or your mattress, or the way you lift groceries). But here's what years of watching remote workers discover: the real culprit often sits right in front of you. Laptop stand lower back health and lumbar support ergonomics are deeply connected, and the connection starts above your lumbar spine, not below it.
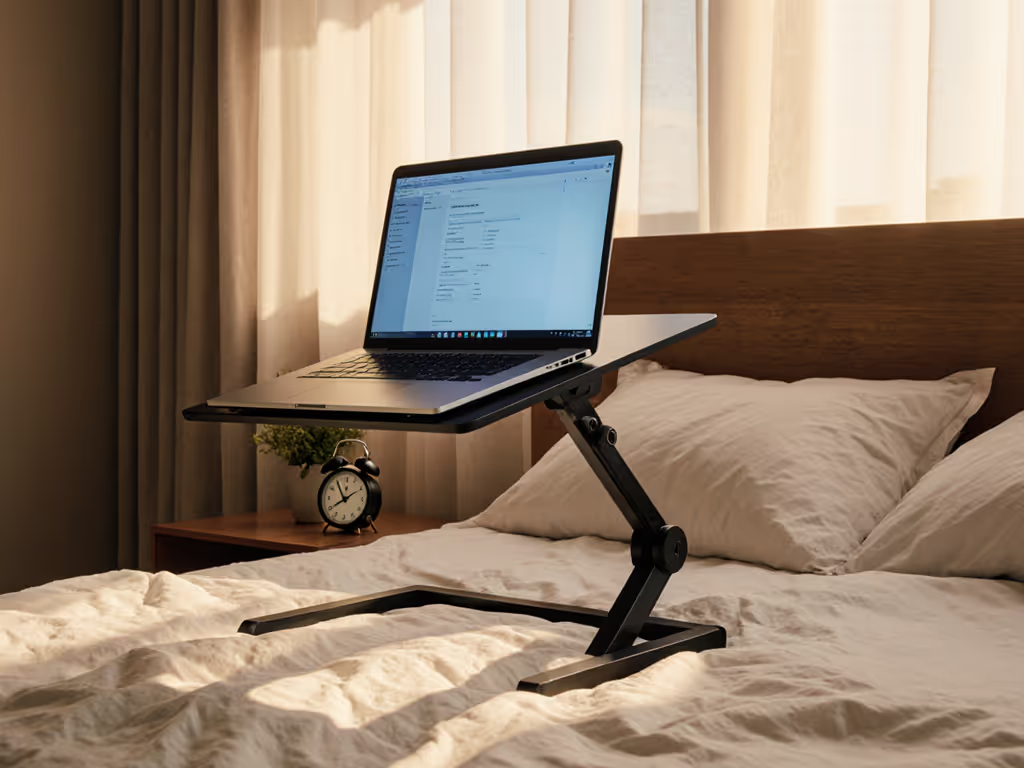
When your laptop screen sits too low, your entire spine pays the price. Your neck bends forward to meet the screen. Your shoulders roll inward to compensate. Your chest caves. And your lower back? It hollows and twists to keep you upright. Over hours and days, that chain reaction locks your pelvis, rounds your thoracic spine, and dumps extra load directly onto your lumbar discs.
The fix isn't magic. It's measurement. Confidence starts with numbers you can collect in five minutes, and once you have those numbers, you can choose a stand that actually fits your body and your desk. Plug your numbers into our eye-level height calculator to get your exact lift target.
Why Screen Height Matters for Your Lower Back
When your laptop sits flat on a desk, the screen typically rests 4 to 6 inches below your optimal line of sight. This seemingly small gap forces your head forward and down, adding the effective weight of roughly 60 pounds of force on your cervical spine[2]. That forward head posture doesn't stop at your neck; it triggers a postural domino effect that extends all the way down your kinetic chain. For the research-backed rationale behind these cascades, see the biomechanics of pain-free posture guide.
Here's the mechanical truth: your body craves balance. If your head is pulled forward, your upper back will compensate by overextending. If your upper back overextends, your lower back will round or hollow to counterbalance. Your pelvis tilts. Your hip angle measurement shifts outside its neutral zone. The result is sustained low-level tension in your erector spinae, quadratus lumborum, and deep core stabilizers (the very muscles that should be supporting your lumbar spine, not fighting it[3]).
Start with measurements, not vibes (find your beginner-friendly fit).
By elevating your screen to the correct height, you break that chain. Your head stays neutral. Your shoulders relax. Your chest opens. Your lower back naturally returns to its preferred curve. Your pelvic alignment positioning settles into a supportive angle. This isn't theory; a properly positioned laptop stand significantly improves posture, reducing back pain caused by slouching or hunching over[3].
The Three-Measurement Method: Building Your Fit Window
Here's where precision replaces guesswork. You'll gather three measurements (eye height, desk height, and laptop thickness) to define the comfort range your stand needs to hit. This method is forgiving because it accounts for your unique body and workspace. No more "ergonomic" claims. Just your numbers.
Measurement 1: Your Eye Height from Seat
Sit in your actual work chair, back against the backrest, feet flat on the floor or footrest. Tilt your head to neutral (imagine a string pulling from the crown of your head straight up). Have someone mark eye level on a wall or doorframe, or use a camera on selfie mode to verify where your eyes land. Measure from the floor to that mark.
This number is your reference point. The top third of your laptop screen needs to meet or fall slightly below this height[2].
Measurement 2: Current Desk Height
Measure the height of your desk surface from floor to tabletop. This is your starting constraint. Most standard desks sit 28 to 30 inches high.
Measurement 3: Laptop Thickness
With your laptop closed, measure from the bottom of the feet to the top of the screen bezel. This number tells you how much additional height the stand must provide to bring the screen into alignment.
The math:
Your required lift height = (Your eye height) - (Desk height) - (Laptop thickness)
If your eye height is 50 inches, your desk is 30 inches high, and your closed laptop is 1 inch thick, your stand needs to provide at least 19 inches of total elevation.
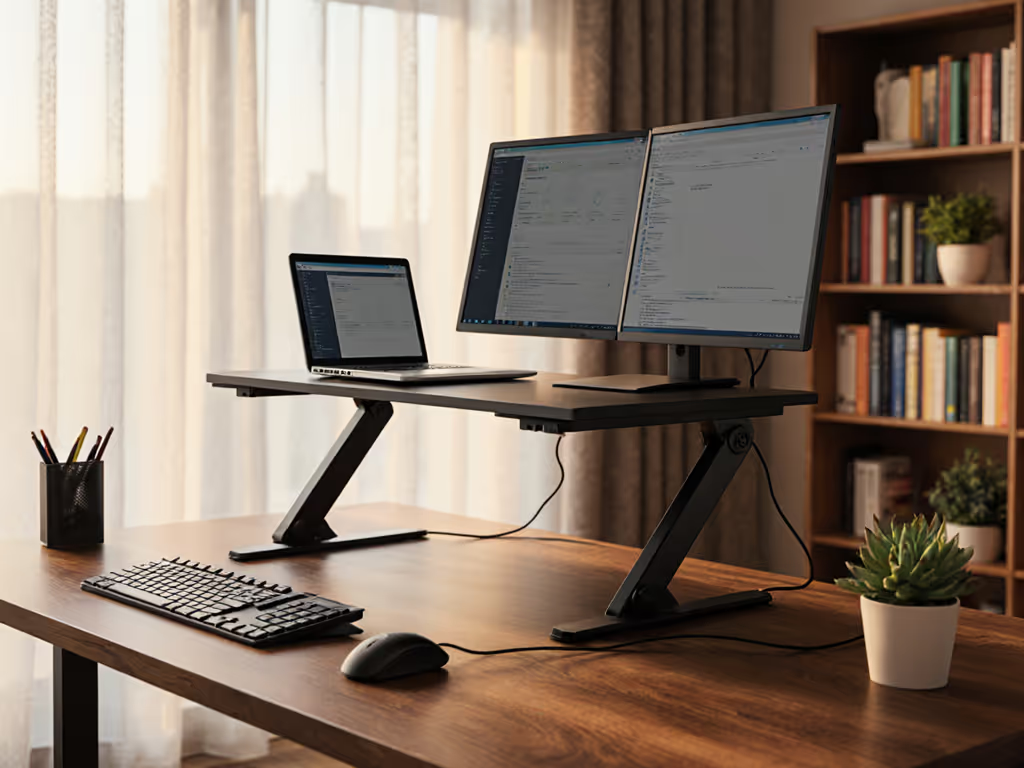
Now, here's the practical reality: most of us don't need the full 19 inches. An ergonomic laptop stand typically offers 4 to 8 inches of adjustable height[2], and that's often enough when paired with an external keyboard positioned at elbow height. The external keyboard lets your screen rise independently, creating sitting posture optimization without your wrists extending awkwardly backward. For detailed keyboard height and alignment tips, read our wrist pain ergonomics guide.
Pelvic Alignment and Hip Angle: The Forgotten Link
Lower back health depends on pelvic stability. Your hip angle measurement (the angle formed at your hip joint when sitting) directly influences lumbar curve and disc pressure.
When your screen is too low, you slump forward, closing that hip angle. Closed hip angles increase intra-discal pressure in your lumbar spine by compressing the front of your discs. Over months, this accelerates degeneration and pain.
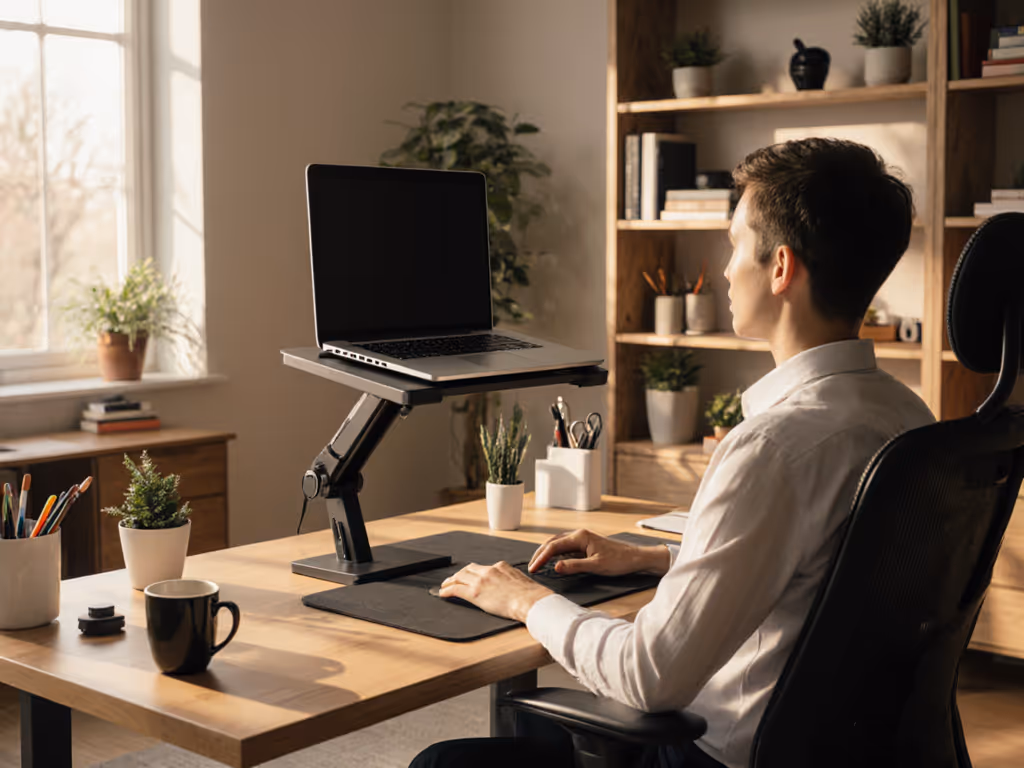
When your screen is at eye level and your posture straightens, your hip angle opens to approximately 90 to 110 degrees (the zone where lumbar discs experience balanced load distribution). Add an external keyboard at true elbow height, and your forearms stay parallel to the floor, your shoulders relax, and your core muscles can actually engage to support your lumbar spine rather than brace against postural collapse[5].
Building Your Complete Ergonomic System
Screen positioning is step one. But ergonomic spine alignment requires harmony across your whole workstation. Build that harmony step by step with our complete ergonomic laptop workstation guide.
Once your laptop stand lifts the screen to eye level, invest a few minutes in keyboard and mouse placement. Your external keyboard should sit at a height where your elbows bend to roughly 90 degrees and your wrists remain neutral, not extended backward or flexed downward. Most people position the keyboard 28 to 30 inches from the floor (roughly 2 to 4 inches below seated elbow height).
Your mouse should live at the same height and within arm's reach, just outside your keyboard. This prevents the reach-and-twist pattern that many people unconsciously adopt when the mouse is too far or too low.
If you're frequently on video calls, consider monitor height and camera angle as part of the same calculation. Your screen should position your camera at eye level, not up-the-nose or down-the-nose. A stand offering at least 4 to 8 inches of vertical adjustment gives you flexibility to dial in the exact position[2].
Choosing a Stand: Comfort Range Over Perfection
When you shop for a stand, you're not hunting for one magic height. To decide between adjustable and fixed-height models, read our adjustable vs fixed-height stands comparison. You're hunting for a range: a comfort window that accommodates your body, your desk variations, and your potential for future changes.
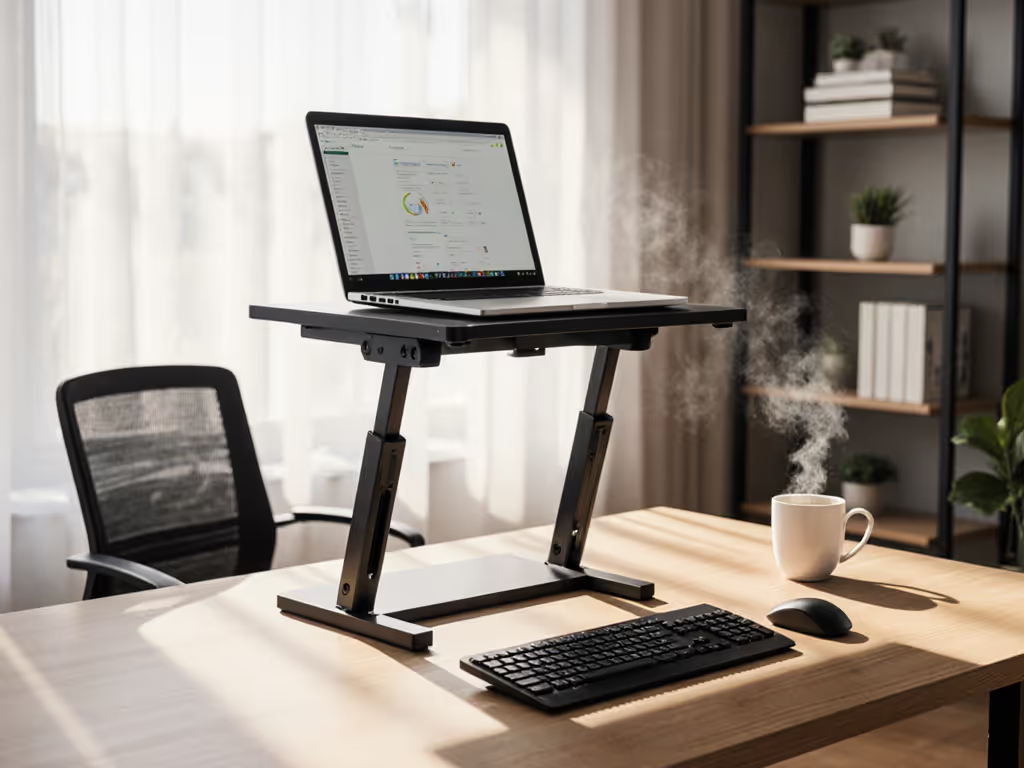
Look for stands that clearly state their vertical lift range (in inches) and the minimum-to-maximum height they achieve. A stand offering tool-free adjustment mechanisms encourages you to fine-tune throughout your workday, shifting between sitting and standing or adjusting for different laptops.
Stability matters as much as height. If a stand wobbles or creeps down when you type, you'll unconsciously adjust your posture to compensate, negating all the ergonomic gains. Choose stands with sturdy bases and materials rated for your laptop's weight.
Your Next Measurement-Driven Step
Gather a tape measure, your work chair, and five minutes. Collect your three measurements. Write them down. That number (your custom comfort range) is your confidence. You now know exactly what you're looking for instead of guessing at generic "ergonomic" labels.
If you're in a temporary situation (visiting an office, traveling, or testing the concept), a strong cardboard box or stack of books can serve as a short-term stand to verify your calculations[3]. Once you confirm the height feels right, you'll know your stand investment fits your real body and real workspace.
Lower back pain often feels like a seating problem. But most remote workers discover it's actually a visibility problem: one your measurements can solve.
Related Articles