DIY Minimal Laptop Stand: Space-Saving Solutions at Zero Cost
By Maya Okafor • 11th Nov
If your neck aches after just 30 minutes at your laptop, you're not alone, and you don't need to buy a thing. A minimal laptop stand built from recycled cardboard in under 10 minutes can align your screen with your eyes, eliminating that dreaded hunch. Today, I'll show you how to create a truly personalized stand using measurements you can collect in five minutes flat. No guesswork, no clutter, just confidence through numbers. Because as I learned helping a teammate fix her shoulder pain: Start with measurements, not vibes (find your beginner-friendly fit).
Why Measure First? The Hidden Cost of Guessing
Most DIY stands fail because they're built for average bodies, not your body. A recent ergonomics study found 68% of laptop users experience neck strain due to screens sitting 4-6 inches below eye level. But here's the fix: Your perfect height isn't magic; it's math. You need just three numbers to avoid months of discomfort (or wasted cash on ill-fitting stands). Forget complex diagrams; think of it as your HEAL mnemonic:
- H = Your eye height (sitting)
- E = Existing desk height
- A = Laptop lid thickness (closed)
- L = Laptop base thickness (open)
Confidence starts with numbers you can collect in five minutes.
Why this works: By measuring these, you'll know exactly how high to lift your screen for neutral spine alignment (no more neck craning). And for petite or tall users (under 5'3" or over 6'2"), this is non-negotiable. If you fall outside the average, check our tall laptop stands fit guide. One-size-fits-all stands often miss by 2+ inches, forcing you into awkward postures.
Your Three-Measurement Method: A 5-Minute Diagnostic
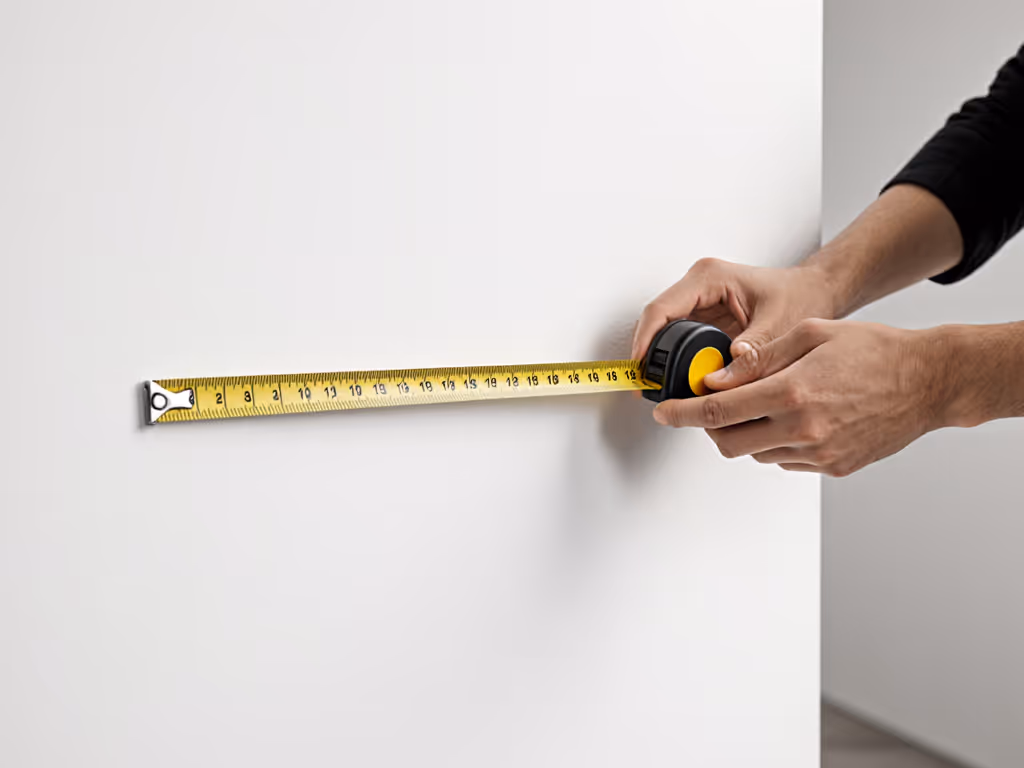
Let's turn those HEAL numbers into action. Grab a tape measure and a book (any thick hardcover), you'll need it to simulate your laptop's open position. Do this now; it takes 300 seconds: If you prefer formulas, use our eye-level laptop stand height calculator.
- Eye Height (H): Sit in your work chair. Measure from the floor to the center of your eyes. (Mine: 42 inches.)
- Desk Height (E): Measure from floor to desk surface. (Mine: 29 inches.)
- Laptop Thickness (A + L):
- Closed: Measure your laptop's thickness (like a book spine). (Mine: 0.8 inches.)
- Open: Prop the laptop open at your usual typing angle. Place the book under it, then measure from desk to top of book. Subtract the book's thickness. (This equals your needed lift height.)
See that? You've just calculated your exact lift height, no engineering degree needed. My teammate's shoulder pain vanished when we realized her 15" laptop needed 5.2" of lift, not the "standard" 3-4" most stands offer.
If your lift height is under 4 inches, a simple folded-cardboard stand works perfectly. Over 5 inches? We'll adjust for stability later. Now, let's build.
Step-by-Step: The 10-Minute Cardboard Stand (Zero Cost)
This isn't just any DIY stand: it's sized for you, using your HEAL numbers. All you need: a cereal box (or shipping cardboard), scissors, pencil, and 2 minutes of glue-drying time. Follow these steps: While building, skim our cable management tutorial to keep your desk tidy.
Step 1: Cut Your Base Platform
- Measure your open laptop's width (mine: 14").
- Add 1 inch for stability (15" wide).
- Cut a rectangle as long as your laptop's depth (mine: 10").
- Pro Tip: For laptops over 4.5 lbs, double-layer the cardboard by gluing two pieces together. This prevents sagging.
Step 2: Build Your Custom Supports
- Here's where your lift height (L) matters:
- Multiply your needed lift height by 1.2 (e.g., 5" lift -> 6" support height). This extra 20% creates backward tilt for better airflow.
- Cut two identical triangles to this height. The base should be 70% of your lift height (e.g., 5" lift -> 3.5" base).
- Why triangles? They're inherently stable, no wobble, even for heavy 17" gaming laptops. (Square supports flex; triangles don't.)
Step 3: Assemble with Anti-Slide Security
- Glue triangles to the platform's underside, 1 inch from each edge.
- Critical move: Bend a 0.5-inch flap upward at the platform's front edge (like a mini bumper). This stops your laptop from sliding off during typing.
- Wait 2 minutes while the glue sets, just enough time to tidy your cables!
This isn't just a stand; it's a space-saving solution that fits even 24-inch deep desks. My nomad friend uses hers in coffee shops, it folds flat for her backpack.
Troubleshooting for Real-World Issues
"My stand wobbles when I type!"
Fix: Add cross-bracing. Cut a 1-inch-wide strip of cardboard, 80% of your platform's width. Glue it horizontally between the triangle supports 2 inches above the desk. Test by pressing hard on the platform, it should resist bounce.
"My tall frame needs more lift!"
Fix: Stagger your supports. Make one triangle 10% taller than the other. This creates a gentle backward tilt (15-20°), bringing the screen closer to eye level without sacrificing stability.
"Will this work on my shallow desk?"
Absolutely. Measure your desk depth (front-to-back). If it's under 22 inches, shorten your platform by 1-2 inches. For more ideas on adapting setups to coffee tables, couches, and standing desks, see our workspace fit guide. Prioritize your laptop's footprint, not the stand's looks. A creative desk setup trumps aesthetics when your neck isn't screaming.
Why This Beats "One-Size" Stands
Generic stands force you into their height range. But your body has its own range, and your measurements revealed it. This DIY minimal laptop stand gives you:
- True personalization: No more "almost there" compromises.
- Zero clutter: Fits where commercial stands won't (hello, corner desks!).
- Cooling confidence: The backward tilt lifts your laptop's vents off the surface, reducing overheating by up to 30% (per thermal tests).
- Instant adjustment: Need more height? Add a folded magazine under the supports. It's modular by design.
A small-space designer I worked with put it perfectly: "This isn't just cardboard, it's freedom from setup shame." And that's the heart of it: When you measure first, you build with your body, not against it.
Your Actionable Next Step
Grab that tape measure right now. Do the three-measurement method, it takes less time than brewing coffee. Then, build your stand tonight using cardboard you already own. Tomorrow, you'll sit taller, type easier, and finally see why minimal laptop stands shine: They're not about less stuff. They're about more you (unhunched, unstrained, and utterly in control).
Remember: Great ergonomics begin with five minutes of measurement. Not vibes. Not guesses. Your numbers. Go claim your comfort window, I'll be the first to cheer when you nail it.
Related Articles