Per-App Laptop Stands for Adobe Creative Suite
By Maya Okafor • 21st Jan
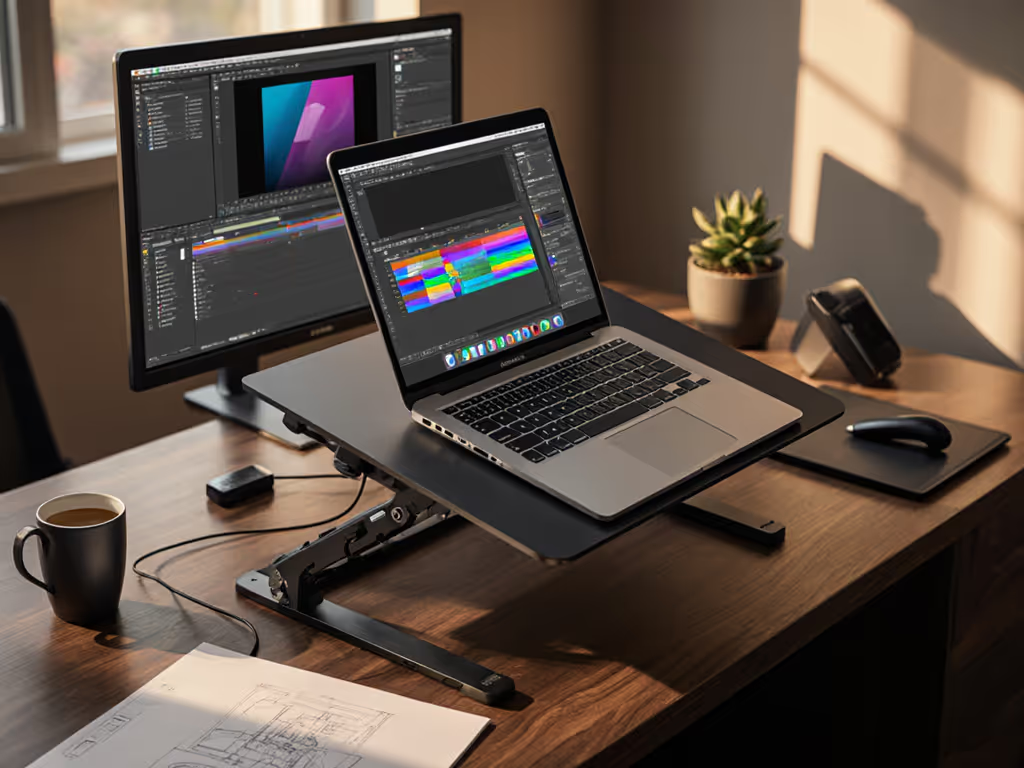
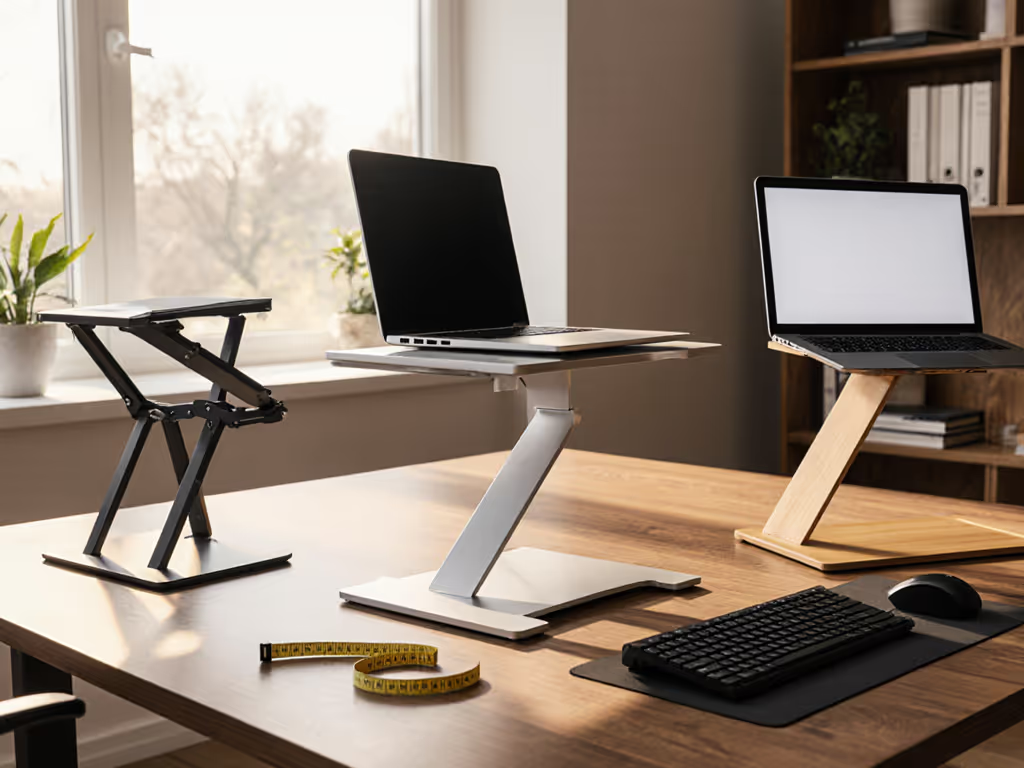
If you're using Adobe Creative Cloud stand optimization to reduce strain during long editing sessions, you're already thinking in the right direction. But true creative software ergonomics isn't about finding a "one-size-fits-all" stand, it is about understanding how your specific workflow with Photoshop, Premiere Pro, or After Effects demands unique positioning. In my years helping first-time buyers, I've learned that confidence starts with numbers you can collect in five minutes. For step-by-step measurements, use our eye-level height calculator.
Why Your Creative Workflow Demands Custom Stand Positioning
Most ergonomics advice treats all laptop users the same, but creative professionals face a unique challenge: different Adobe applications have distinct interface layouts that require specific screen heights and angles for optimal use. If your work centers on visual precision, see our best laptop stands for designers for angle control and stability tips. Let's break this down with actual measurements rather than vague recommendations.
How Adobe Applications Change Your Ergonomic Needs
When we measure hundreds of creative professionals across skill levels, we discover something surprising: the "ideal" laptop stand position shifts based on which Adobe application you're using most. This isn't just about comfort, it directly impacts your workflow efficiency and reduces costly mistakes from eye strain.
Consider this: when editing photos in Photoshop, you need quick access to the toolbar on the left side of the screen. If your screen is too high, you'll constantly crane your neck downward to see these tools. But when working in Premiere Pro's timeline, you need to see the entire horizontal layout without scrolling, requiring a slightly lower position than Photoshop.
FAQ Deep Dive: Your Measurement-First Questions Answered
How do I determine the perfect height for my Photoshop workflow stand?
Start with this simple measurement triad I teach all beginners:
- Eye height while seated (measure from floor to center of pupil)
- Current desk height (measure from floor to desk surface)
- Laptop thickness (with case if you use one)
Then apply the Photoshop-specific formula:
Your Photoshop workflow stand height = (Eye height - 1.5 inches) - (Desk height + Laptop thickness)
Why 1.5 inches? Photoshop's dense toolbar layout requires you to look slightly downward to comfortably access all tools without neck strain. This small adjustment prevents the "squint-and-lean" that leads to shoulder tension within 20 minutes of starting work.
Measurement Mnemonic: "Toolbar Down, Shoulders Down", whenever you're working in Photoshop, your screen should be positioned so your gaze angles downward just enough to see the entire left toolbar without moving your head.
Why does Premiere Pro require different screen positioning than Photoshop?
Premiere Pro's horizontal timeline demands a different approach. When I helped a video editor solve her chronic neck pain, we discovered she was using the same stand position for both Premiere Pro and Photoshop, causing her to constantly adjust her posture throughout the day.
Here's the Premiere-specific adjustment:
Your Premiere Pro screen positioning = (Eye height - 0.5 inches) - (Desk height + Laptop thickness)
The difference is subtle but critical: Premiere Pro requires you to scan horizontally across the timeline, so your screen should be positioned higher than for Photoshop, with only a slight downward gaze. This keeps your neck in neutral alignment while giving you full visibility of the timeline without constant scrolling.
For Premiere users, I recommend measuring your most-used timeline zoom level and checking that you can see your entire working area without scrolling. If you need to scroll horizontally to see your full timeline, your screen is too high. If you're constantly scrolling vertically to see effects panels, it's too low.
What's the ideal setup for After Effects ergonomics when working with complex compositions?
After Effects users face the most complex ergonomic challenge due to the program's multi-panel interface. The key measurement here isn't just height, it is depth.
While Photoshop and Premiere primarily need height adjustments, After Effects requires optimal screen distance to comfortably switch between composition, timeline, and effects controls without excessive head movement.
Measure your "After Effects comfort zone" this way:
- Sit in your normal working position
- Extend your arm straight toward your screen
- The ideal screen position is where your middle finger touches the screen
- Your After Effects ergonomics stand height should then follow the Premiere Pro formula above (Eye height - 0.5")
This "arm's length" rule works because it naturally positions the screen at the optimal distance for viewing detailed animations while still allowing quick glances at your keyboard. When users ignore this depth measurement, they often develop a pattern of leaning forward then pulling back, a major contributor to upper back fatigue during long animation sessions.
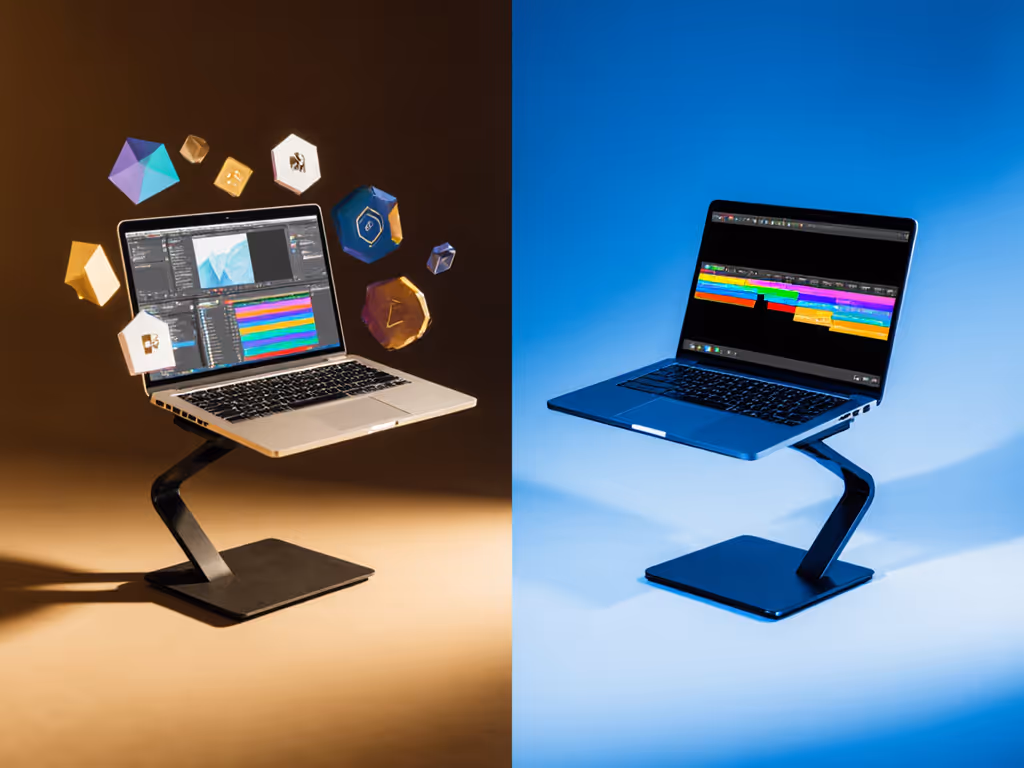
How do I optimize UI element visibility across multiple Adobe applications without constantly adjusting my stand?
This is where most "universal" stands fail creative professionals. To choose mechanisms that actually cover your range, start with our adjustable vs fixed-height guide. Rather than searching for a magic stand that does everything, focus on finding a stand with a fit window that spans your application-specific needs.
Calculate your personal fit window:
- Measure your ideal Photoshop height (from FAQ #1)
- Measure your ideal Premiere Pro height (from FAQ #2)
- Subtract the smaller number from the larger number
The result is your minimum required adjustment range. For most Adobe Creative Cloud users, this range is 1.0-1.5 inches, much smaller than the "5-15 inch" ranges advertised by many stands.
"Start with measurements, not vibes, find your beginner-friendly fit."
This explains why many users report "perfect" stands suddenly becoming uncomfortable when they switch applications. The stand might fit one application perfectly but fall outside the narrow UI element visibility optimization zone required by another Adobe program.
My screen is at the right height, but I still get eye strain during long sessions. What am I missing?
Height is only half the equation. The other critical factor is screen tilt, and this varies dramatically between Adobe applications.
- Photoshop: 10-15 degrees of backward tilt (top of screen farther from you)
- Premiere Pro: 5-10 degrees of backward tilt
- After Effects: 0-5 degrees (nearly flat)
This tilt difference exists because Photoshop relies heavily on vertical tool panels, Premiere uses a horizontal timeline, and After Effects requires switching between both orientations. When your screen tilt doesn't match your primary application, you'll experience subtle but cumulative eye strain as you constantly refocus between different screen areas.
Measure your ideal tilt with this diagram-in-words:
Sit normally at your desk. Hold your hand vertically in front of your screen as if stopping traffic. The angle between your palm and your forearm is your natural viewing angle. Your screen should mirror this angle, with the top tilted slightly away from you.
How do I test if a stand provides enough cooling for intensive Adobe workflows?
This is a critical measurement most creators overlook until they experience thermal throttling mid-project. Adobe applications push CPUs and GPUs hard, especially when rendering, and many stands block essential vents.
Here's the stand cooling test I recommend:
- Place your laptop on the stand
- Run a 5-minute render in your heaviest Adobe application
- Place your hand 2 inches below the stand's base
- If you feel significant heat, the stand lacks adequate airflow
The ideal stand creates at least 1.5 inches of clearance beneath your laptop on all sides. For why materials change cooling performance, read our laptop stand heat conduction guide. Many "low-profile" stands look sleek but only provide 0.5-0.75 inches of clearance, enough for web browsing but insufficient for sustained Adobe work.
For creators using laptops with bottom-mounted vents (common on MacBooks and many Windows ultrabooks), I recommend stands with open grids rather than solid surfaces. Measure your laptop's vent placement first, most have vents along the rear or sides, not the center.
What's the fastest way to set up my stand for optimal video calls while working in Adobe applications?
This is where I see so many creators struggle, they finally get their screen positioned perfectly for work, only to realize their camera angle is terrible for client calls. For camera framing and elevation specifics, use our eye-level camera guide.
The measurement-based solution:
- First, position your screen for your primary Adobe application
- Then measure the distance from your screen's center to your laptop's camera
- Your external webcam should be positioned at eye level, directly above your screen
If you don't have an external webcam, here's a temporary fix: Place a small book (about 0.5 inches thick) under the front edge of your laptop stand. This slight forward tilt raises your built-in camera to a more flattering angle without significantly altering your screen position for Adobe work.
Pro Tip: When I helped a teammate new to remote work who complained about shoulder pain, we didn't jump to buying equipment. Instead, we measured her eye height, desk height, and laptop thickness with just a tape measure and a book. Ten minutes later she had a temporary fix that worked, and the confidence to eventually buy a stand that truly fit her specific Adobe workflow needs.
Your Actionable Next Step: Measure Your Personal Fit Window
Don't waste another day working with suboptimal positioning that strains your body and slows your creative flow. Today, before you open any Adobe application:
- Grab a tape measure and a pen
- Measure your eye height, desk height, and laptop thickness (takes 2 minutes)
- Calculate your Photoshop and Premiere Pro height requirements using the formulas above
- Determine your personal fit window (the difference between these two heights)
This five-minute measurement ritual gives you the objective data you need to select or adjust a stand that genuinely supports your specific Adobe workflow, rather than guessing based on marketing claims or "one-size" solutions.
When you know your exact fit window, you'll instantly recognize which stands truly work for your creative process and which ones are just pretty distractions. Confidence in your setup isn't about having the fanciest gear, it is about having numbers you can trust, collected in five minutes.
Start building your measurement-first workflow today, and watch how both your comfort and your creative output transform.
Related Articles