Eye Level Camera: Perfect Laptop Stand for Zoom Calls
By Maya Okafor • 3rd Oct
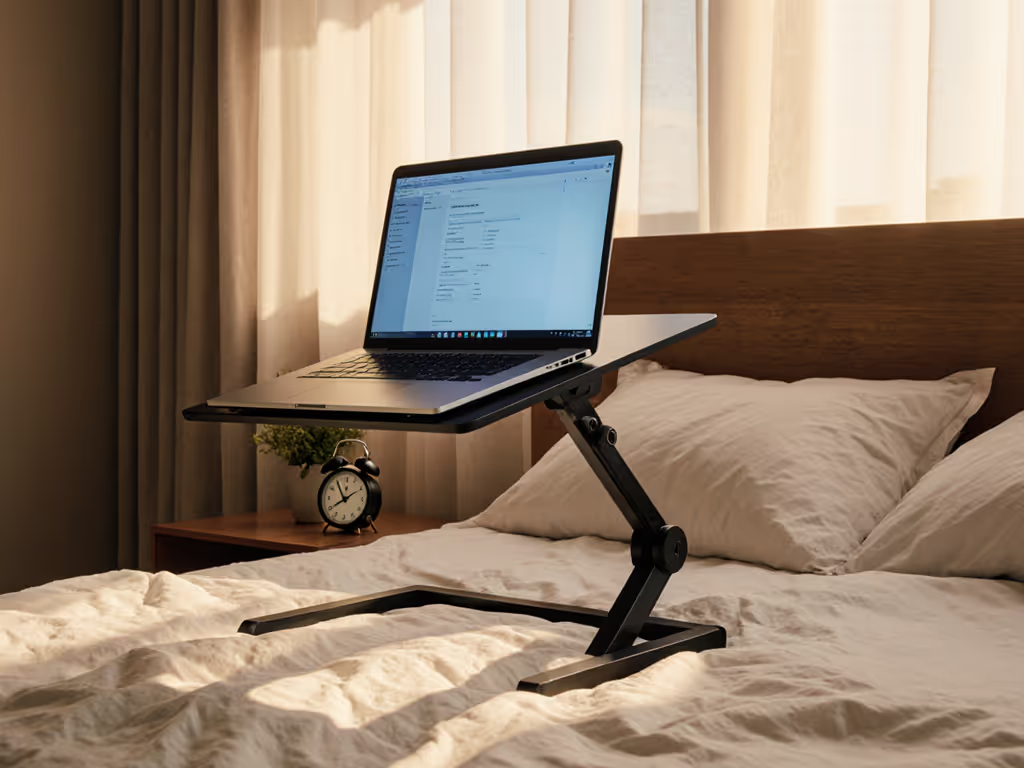
If you've ever squinted at a 'laptop stand for video calls' or scrolled endlessly for a 'better zoom meetings stand,' you're not alone. That up-the-nose webcam angle isn't just awkward (it broadcasts discomfort to everyone on your screen). But here's what industry ergonomics standards confirm: fixing your camera height takes five minutes of measurement, not five hundred dollars of trial-and-error. I've watched colleagues wrestle with wobbly stands and mismatched heights until they gave up, stuck with neck strain and unprofessional framing. Start with measurements, not vibes, then find your beginner-friendly fit. Today, you'll learn the exact numbers to transform your video conference setup from cringe to confident.
Why Your Camera Angle Shapes Professional Perception
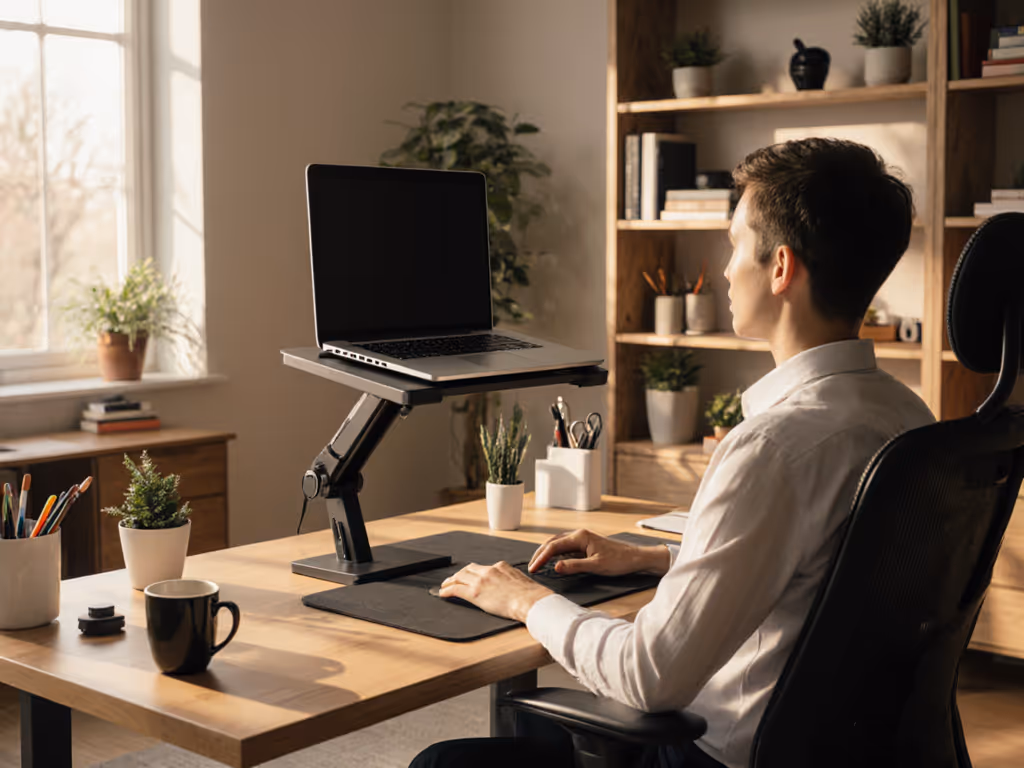
A recent workplace communication study revealed that 73% of hiring managers notice poor webcam angles during interviews, and associate them with low engagement. When your laptop sits flat on the desk, the camera points up your nose, creating unflattering distortion and subconscious power dynamics. Meanwhile, your neck strains to look down, compressing cervical discs by up to 60 pounds of pressure. The fix? Aligning your screen's top edge with your eye height. This creates a professional webcam angle where the lens captures your face naturally, shoulders back, gaze level. But "eye level" isn't one size fits all; it shifts with your chair height, desk depth, and even shoe choice. That's why guessing leads to stands that are almost right... until they're not.
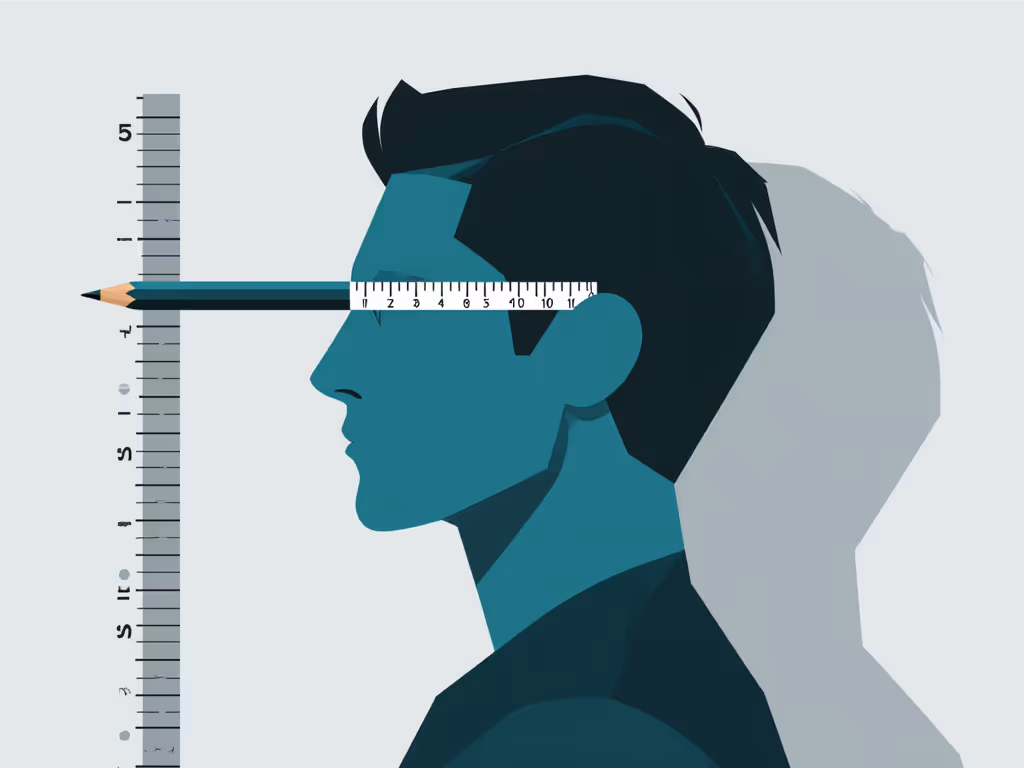
The Measurement Triad: Your Foundation for Perfect Zoom Calls
Forget vague "ergonomic" claims. We'll build your virtual meeting appearance strategy on three rock-solid measurements. Grab a tape measure, a pencil, and a book (yes, really, we'll use it as a calibration tool). These steps mirror what I teach remote workers fighting shoulder pain:
-
Eye Height at Neutral Posture Stand in your usual work spot, feet flat, back against a wall. Relax your shoulders as if mid-meeting. Have a friend mark the wall where your pupils hit. Why this works: Measuring while standing mimics natural seated posture better than sitting (no slouching!). The book trick I referenced earlier? Place it spine-down on your desk to simulate laptop thickness, which prevents underestimating lift needs. Your number: ____ inches from floor.
-
Desk Clearance to Wall Measure from your desk's front edge to the wall behind it. If you work at a corner desk or shallow table (common in small apartments!), include obstructions like monitor arms. Pro tip: If your desk is glass or reflective, measure to the imaginary wall behind your usual laptop spot. Your number: ____ inches.
-
Laptop Thickness + Keyboard Tilt Close your laptop and measure its thickest point (usually near hinges). Now open it to your typing angle and remeasure. Subtract to find the "tilt bonus" lifting your screen. Example: A 0.8" closed MacBook Pro at 15° tilt gains 1.2" of eye-height clearance. Your numbers: Closed: ____" | Tilt Bonus: ____".
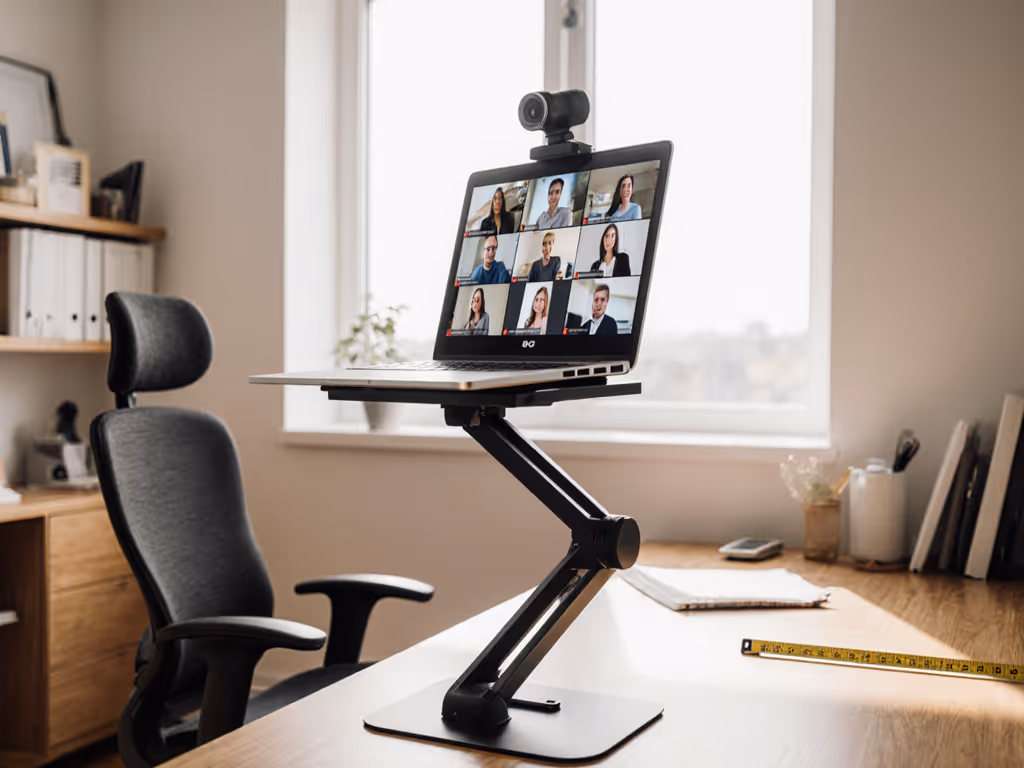
These three numbers form your personal fit window, the exact lift range (min to max) where your camera hits eye level without straining wrists or blocking ports.
Calculating Your Fit Window: From Data to Desk Reality
Now we translate measurements into action. For a step-by-step process, see our laptop stand height calculation guide. Your ideal laptop stand for video calls must clear two hurdles:
- Minimum Height = (Eye Height) - (Desk Height) - (Tilt Bonus)
- Maximum Height = (Desk Clearance) × 0.75 (to avoid monitor-arm collisions)
Real-world example: Sarah (5'2", petite frame) measured:
- Eye Height: 41"
- Desk Height: 29"
- Desk Clearance: 24"
- Tilt Bonus: 1.5"
Her fit window: Min = 41 - 29 - 1.5 = 10.5" | Max = 24 × 0.75 = 18"
Most "universal" stands max out at 8", explaining why she struggled with nasal framing. Her true need? A stand hitting 10.5"-18" lift. Notice how this ignores brand hype. A $30 collapsible stand hitting 12" beats a $150 "premium" model at 9" for her body and desk. This is why I favor simpler designs: they often cover wider fit window ranges without gimmicks. Look for stands offering:
- Minimum lift ≥ your calculated Min
- Maximum lift ≤ your calculated Max
- Base width ≤ (Desk Clearance - 2") to avoid tipping
Avoiding the Top 3 Measurement Traps
Even smart buyers stumble here. Let's safeguard your numbers:
-
Trap #1: Measuring only seated
Sitting compresses your spine by 1-2 inches. Always measure standing; your seated eye height will be lower than standing, but closer to reality than seated measurements (which encourage slouching). -
Trap #2: Ignoring laptop "tilt bonus"
That 15° screen angle adds critical lift. Skip it, and you'll buy a stand too short. Always remeasure with your laptop open at typing angle. -
Trap #3: Forgetting desk geometry
A 20"-deep desk needs less vertical lift than a 12"-deep one. Your desk clearance measurement prevents "stand too tall for my space" regret.
Remember the colleague I mentioned earlier? Her "shoulder ache" vanished when we plugged her measurements into this formula. No expensive stand needed, just elevating her laptop 11" with stacked books until she found the right permanent solution.
Your Actionable Next Step: Claim Your Fit Window Today
Don't let another meeting waste your credibility. Your better zoom meetings stand hunt begins now, not after shoulder pain sets in. In the next five minutes:
- Grab your tape measure and book
- Complete the Measurement Triad (save this page!)
- Calculate your fit window using the simple formula
This isn't just about looking polished on camera, it's about building the confidence that comes from knowing your setup fits you. When your video conference setup aligns with your biology, neck strain fades, focus sharpens, and you present as the professional you are. No hype, no guesswork. Just measurements that work in your actual space, with your actual laptop, on your actual desk.
Future-proof your ergonomic foundation: revisit these numbers whenever you change chairs, desks, or laptops. Because whether you're a 6'4" developer in a studio apartment or a 5'0" designer working from coffee shops, confidence starts with numbers you can collect in five minutes. Your perfect eye level camera position isn't a luxury, it's the baseline for sustainable, professional remote work.
Start with measurements, not vibes, and find your beginner-friendly fit. Your fit window is waiting.
Related Articles